
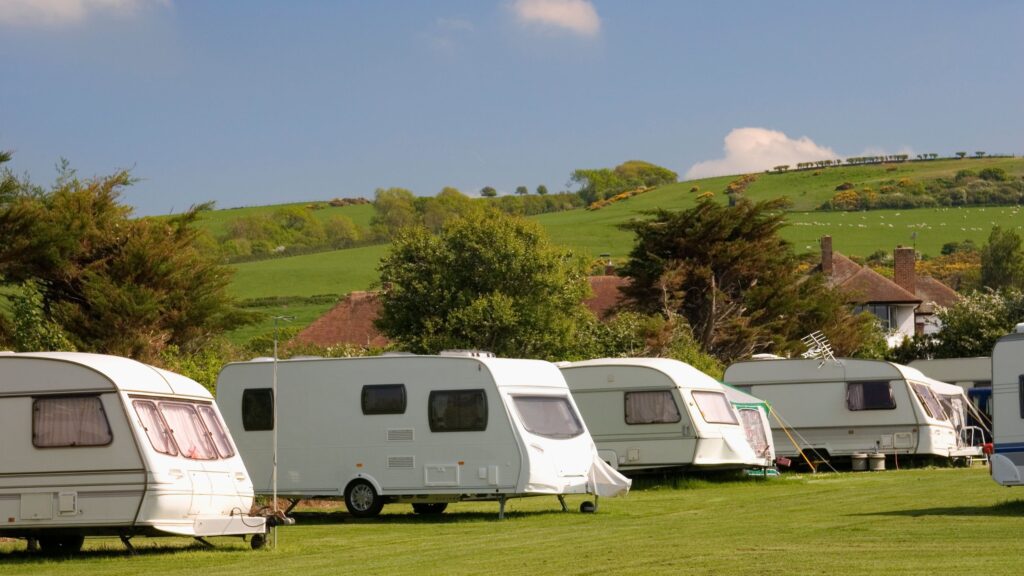
A caravan that sits for weeks or months can age faster than one that is towed regularly, because sun, dust and trapped moisture all get to work while nobody is watching. These caravan storage tips are for Australian owners who park at home or in a storage yard between trips and want a routine that is easy to keep up. Below you will find a short preparation checklist, a clear way to decide between shelter and a fitted cover, and a quick inspection routine for every few weeks.
One point runs through all of it: a cover only handles part of the job. It cannot replace ventilation, tyre care or regular checks, so the best result comes from combining all four.
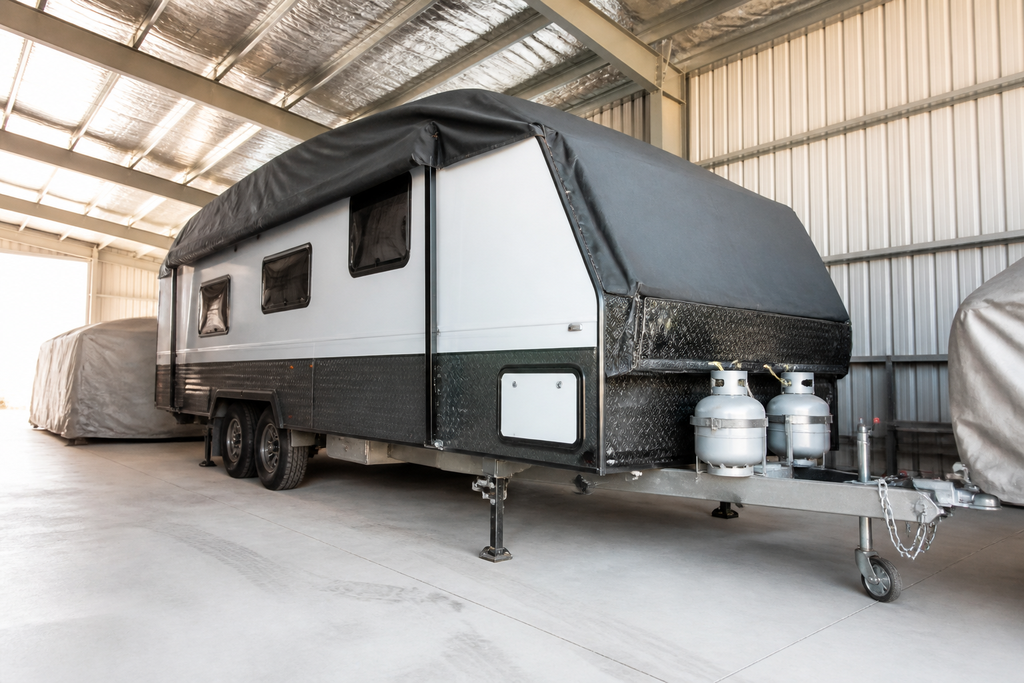
Caravan storage tips: choose the spot and prepare before parking up
Start with the ground. Choose firm, well-drained ground, ideally under suitable shelter, and look at where rainwater will pool or run after heavy rain. Check for overhead branches that could drop limbs in a storm, and think about how exposed the spot is to wind. Park with appropriate wheel chocks in place, and leave enough room to walk around the caravan so you can inspect it and fit or remove protection without a struggle.
Next, wash the exterior and let it dry completely, so grit and grime are not left sitting on the finish for months. Clean the awning too, and make sure it is fully dry before you retract and secure it, otherwise damp fabric invites mildew.
Inspect the roof and window seals for cracks, separation or signs of leaks, and arrange repairs now, because a cover should never be relied on to make up for a failing seal.
Inside, remove all food and rubbish, since even sealed food can attract pests, and then clean the interior. Switch off the fridge, clean and dry it, and leave the door ajar using its storage setting if it has one. For longer lay-ups, tanks may need cleaning and draining, and the battery may need isolating or charge maintenance. Follow the caravan and equipment manufacturers’ instructions for these, as the right procedure depends on your setup.
Keep dust and rain out without trapping damp inside
The aim is a caravan that is closed to weather but not sealed airtight. Close and latch every weather-exposed window, roof opening and external access door, and check their seals. Leaving a window unsecured for ventilation invites rain, dust and pests, so rely on other airflow instead.
Keep permanent safety vents unobstructed, including when you fit external protection, and never tape them over. Inside, leave cupboard doors ajar so air can circulate, and make sure no damp towels, awnings or equipment have been packed away.
Watch for condensation on windows and in corners, musty smells and damp patches in cupboards. If you find them, look for the cause, whether that is a leak or poor airflow, rather than treating moisture absorbers as a substitute for fixing it. On a dry day, air the caravan during a supervised visit, then secure the openings again before you leave.
Decide whether shelter or a fitted caravan cover suits your storage
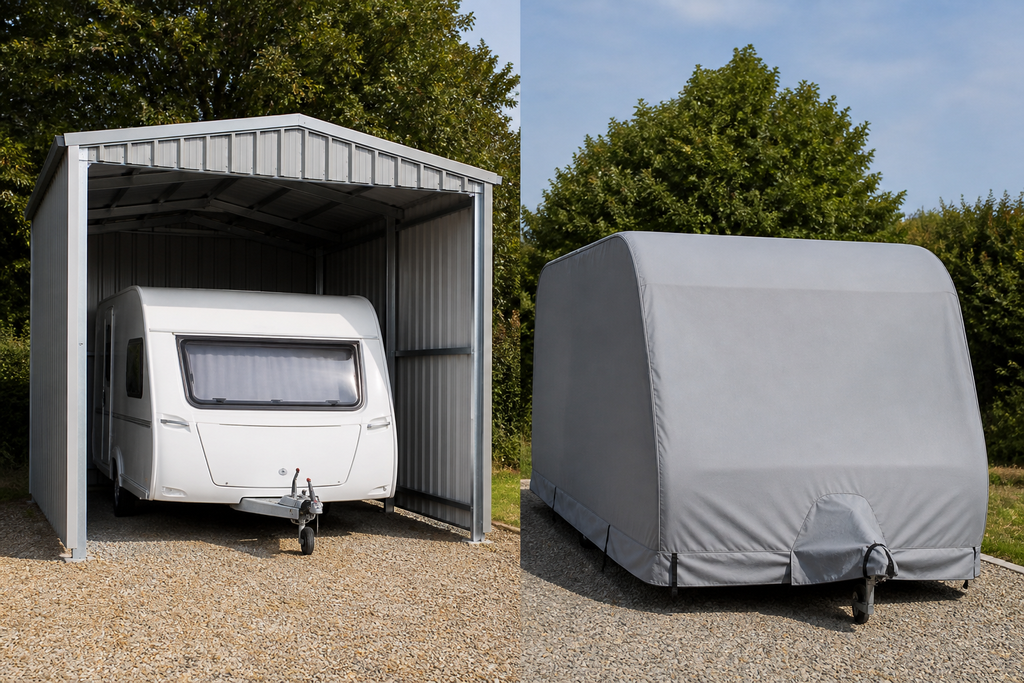
If you can store under suitable shelter, prefer it, because it cuts direct sun and rain without fabric resting against the paintwork. The catch is that open-sided shelter still lets wind-driven dust and weather in, so it is not a complete answer in exposed spots.
For outdoor storage over weeks or months, a fitted cover can be worthwhile, provided you can fit it properly and inspect it regularly. It is not automatically necessary under effective shelter. If you are weighing it up, working out whether a caravan cover is actually worth buying is a useful starting point.
If you go ahead, choose breathable, UV-resistant material suited to your conditions, and treat any claim of full waterproofing with caution, since no cover is maintenance-free or immune to condensation. Measure using the manufacturer’s sizing instructions and fit the cover to a clean, completely dry caravan. Secure the straps as directed and pad rubbing points, because a flapping cover abrades the finish.
A purpose-made cover beats a tarpaulin, as tarps tend to trap moisture, flap in the wind and rub against paint. Whatever you choose, make sure it preserves the safety ventilation your caravan needs.
Protect tyres from sunlight and prolonged standing
Sunlight is hard on tyre rubber, so shade exposed tyres or use suitable tyre covers. Do not assume the main caravan cover shields them; check that it does, including any externally mounted spare.
Keep the tyres at the manufacturer-recommended cold pressure for the load, and use a gauge rather than judging by appearance. Do not guess at a figure or overinflate as a precaution.
Inspect tread and sidewalls for cracks, bulges, cuts and uneven wear. Also check the tyre’s age against manufacturer guidance, because decent tread does not guarantee a sound tyre.
Routine parking between trips is different from prolonged storage. For longer periods, follow the caravan and tyre manufacturers’ guidance on repositioning or load relief. Jacking up every caravan is not the answer, and stabilisers are not lifting equipment, so any approved load-relief arrangement should use the specified support points and suitable equipment.
Check every few weeks, after storms and before departure
Set a reminder to inspect every few weeks, and again after severe weather. Keep a short record of anything you notice so changes are easy to spot.
Outside, walk around and check cover straps, loose fabric, rubbing points, any displaced tyre protection and water pooling around the spot. Inside, look for leaks, moisture, condensation and dust ingress, particularly around windows, roof openings and cupboards, and fix the cause and dry affected areas promptly.
Then check cold tyre pressures and visible tyre condition, confirm the safety vents are still clear, and carry out any battery checks the equipment manufacturer requires.
Before departure, remove the storage protection and work through your pre-trip checklist: tyres, coupling, safety chains, brakes and lights. Restore tanks and electrical systems according to their instructions, and if you find damage, persistent pressure loss or any roadworthiness concern, arrange repairs or servicing before towing.
The simplest next step is to put the first inspection date in your calendar the day you park up.